This product was successfully added to cart!
OEM Customized New York City Animation Studios - Virdyn mHand Studio Motion Capture Gloves Software System for mHand Pro – Virdyn
OEM Customized New York City Animation Studios - Virdyn mHand Studio Motion Capture Gloves Software System for mHand Pro – Virdyn Detail:
Features
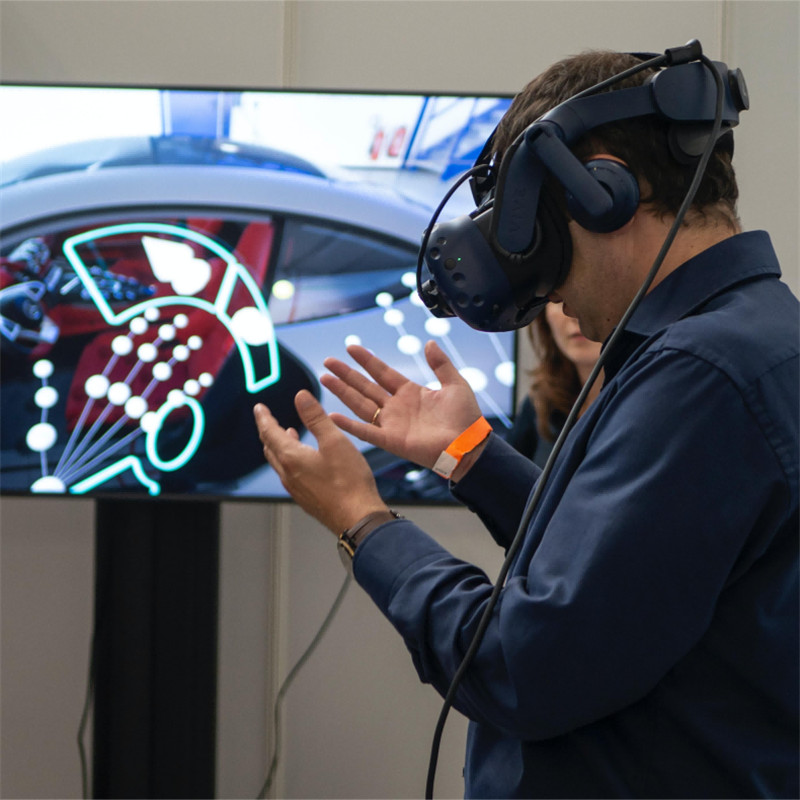
● Gesture recognition: Built-in fully self-developed gesture recognition model, supports 15+ gesture types, covering common interactive gestures such as grabbing, clicking, OK, fisting, etc., and easily supports various VR interactive content
● Spatial positioning: Supporting SDK, support HTC Vive Tracker, Oculus Quest 2 controller and other optical trackers for hand position tracking
● Immersive interaction: Multiple built-in virtual interaction cases, combined with gesture recognition and vibration feedback, provide developers with more efficient and realistic virtual interaction solutions
● Cross-platform: Supporting SDK, compatible with Windows and Android systems
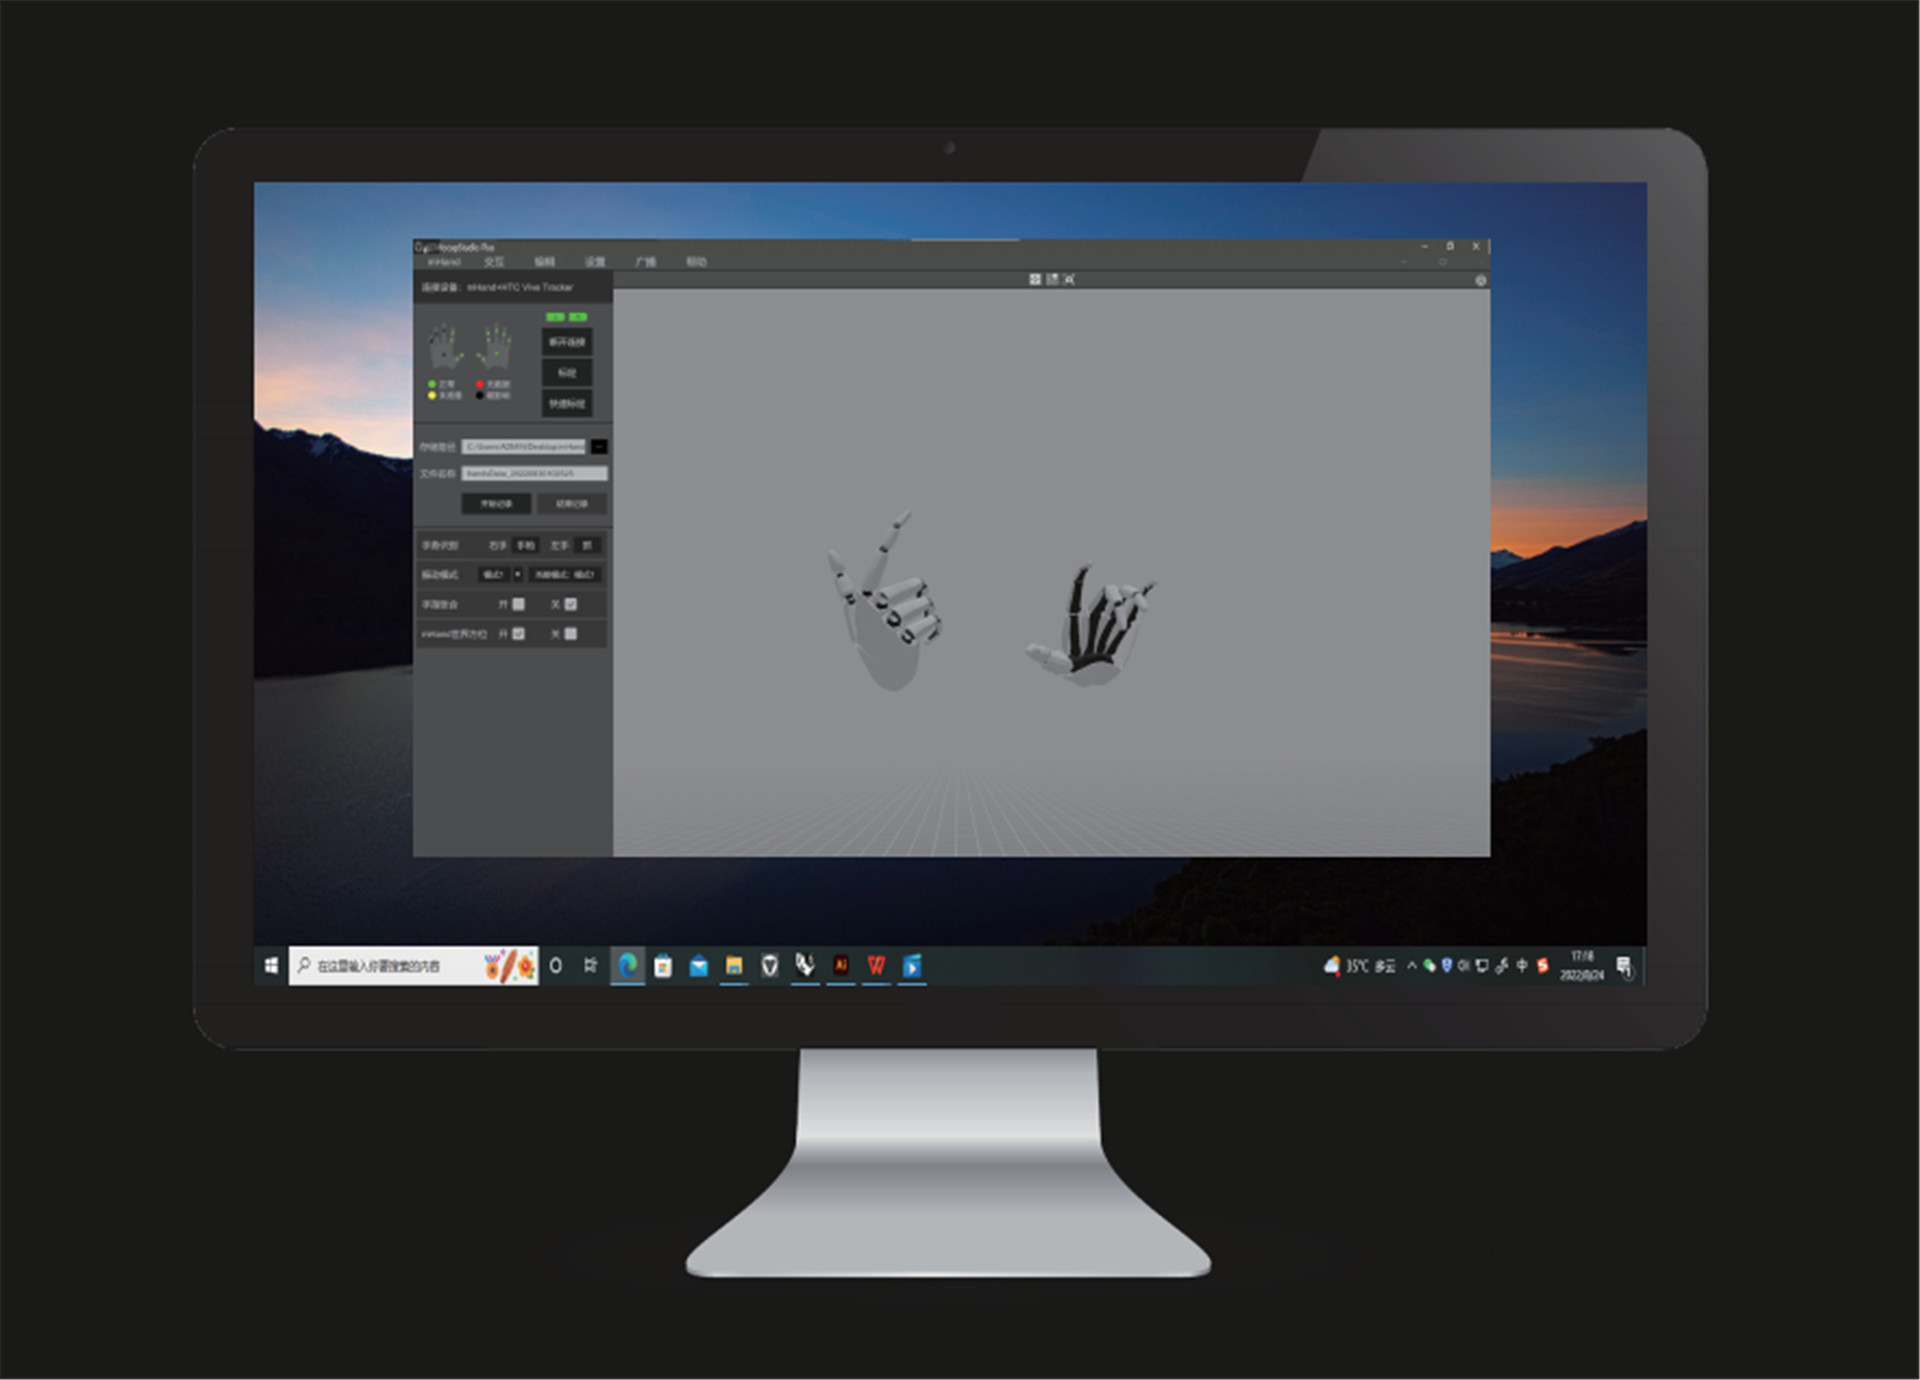
Software Description
Camera reset
● Click the icon and the camera will reset to its relative location to the model. (Relative location: The default relative distance between the camera and the model)
Window switch
● Click the icon to switch to one angle window and the icon for four angles windows.
Motion capture calibration
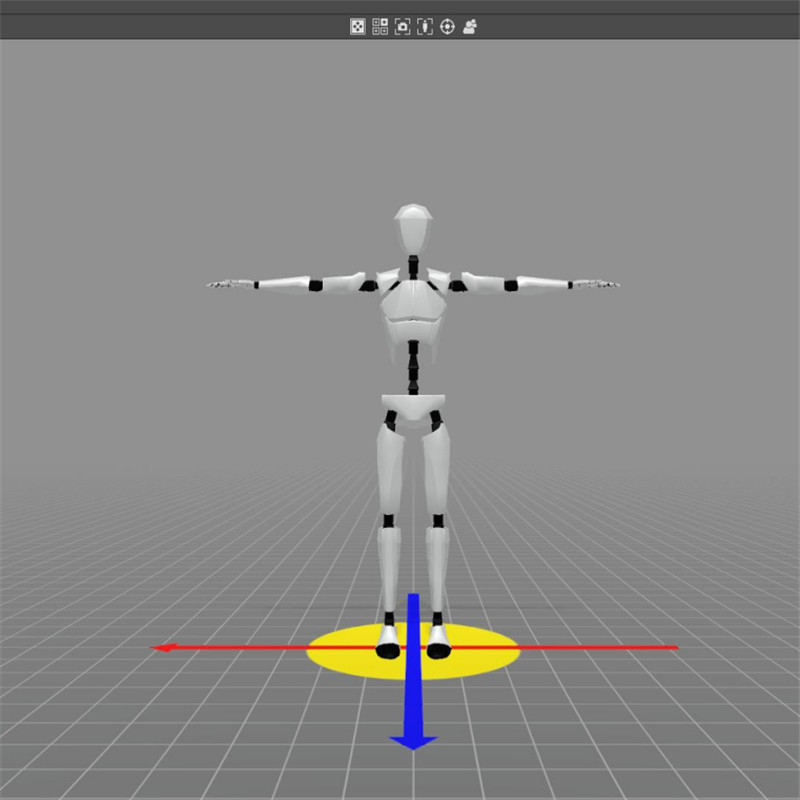
● You must calibrate the unit before use. Tick both poses. During calibration, please follow the prompts and requirements.
Quick calibration
● Before quick calibration is enabled, there are no calibration prompts. The model needs to stand in the calibration pose and the controller should click the “Quick Calibration” button.
Data recording
● Set the storage path and file name and click the “Start Recording” button to begin recording motion data. After the capture and recording of motion data, click “Stop Recording” button to save the data file.
Hand gesture recognition
● After calibration, the computer will automatically recognize the motions captured by the device.
Camera mode
● Click the “3D” button to switch to a 3D window and click the “VR” button for a VR window. (VR glasses are required)
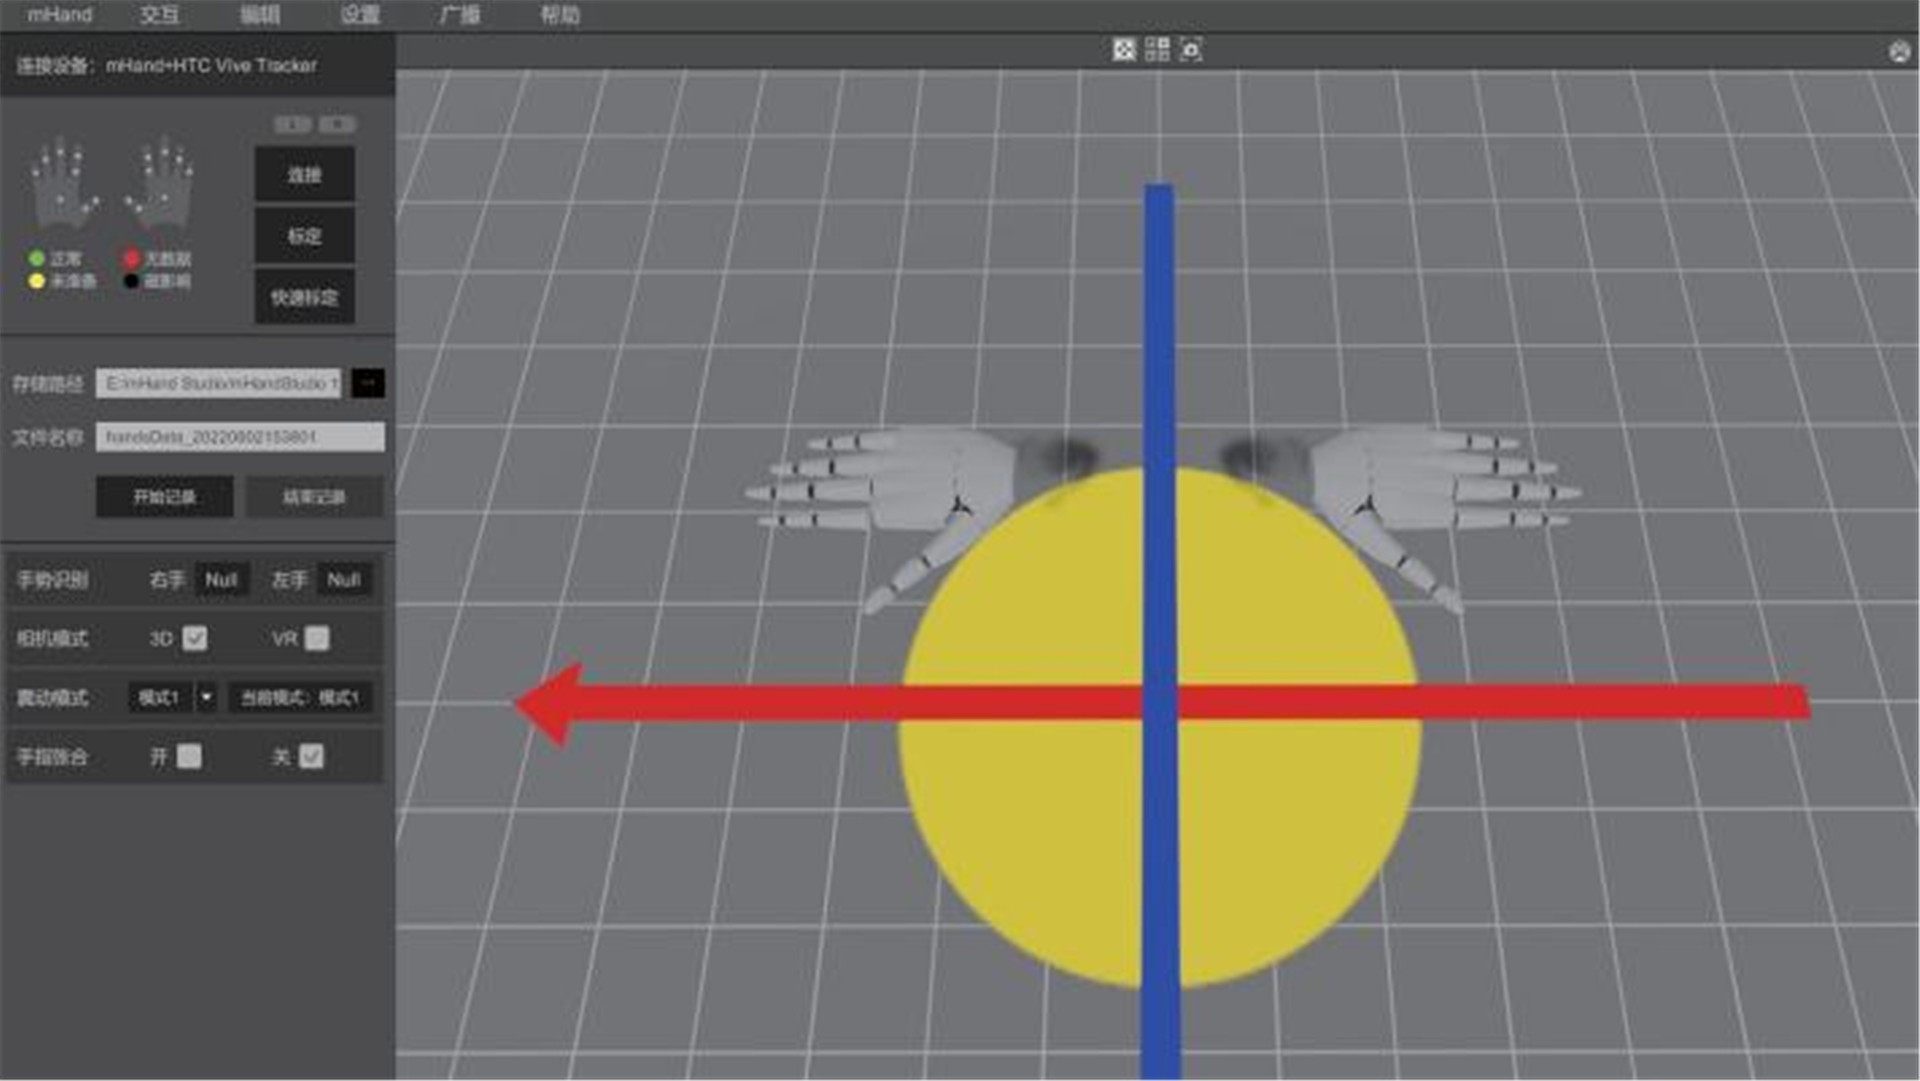
Vibration mode
● Click the “Mode” button to change to different vibration modes. (“Mode 1” is no vibration)
Fingers clenched and unclenched
● During motion capture, you can choose to enable fingers clenched or unclenched. (horizontal)
Hardware setting
● Click the “Settings” button and then click the “Hardware Setting” button to adjust hardware parameters and performance recovery.
System setting
● Click the “Setting” button and then click the “System Setting” button to adjust software parameters.
Data broadcasting
● Click the “Broadcasting” button and set IP and port to transmit data over the data protocol.
Product detail pictures:
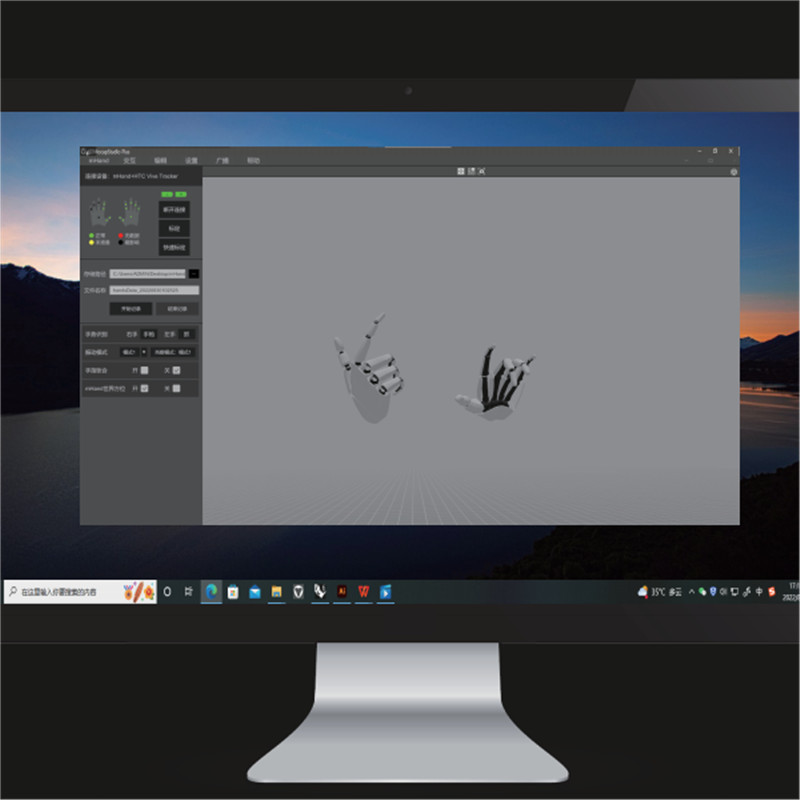
Related Product Guide:
We keep on with the basic principle of quality to start with, support very first, continuous improvement and innovation to meet the customers for your management and zero defect, zero complaints as the quality objective. To great our service, we offer the items with all the superior high quality at the reasonable selling price for OEM Customized New York City Animation Studios - Virdyn mHand Studio Motion Capture Gloves Software System for mHand Pro – Virdyn , The product will supply to all over the world, such as: Leicester , Turkey , Ecuador , We are your reliable partner in the international markets of our products. We focus on providing service for our clients as a key element in strengthening our long-term relationships. The continual availability of high grade products in combination with our excellent pre- and after-sales service ensures strong competitiveness in an increasingly globalized market. We are willing to cooperate with business friends from at home and abroad, to create a great future. Welcome to Visit our factory. Looking forward to have win-win cooperation with you.
We are really happy to find such a manufacturer that ensuring product quality at the same time the price is very cheap.

